Quick Answer
A Reach RS4 Pro receiver lets you place accurate ground control points, or GCPs, across your mapping site before you fly. Photogrammetry software uses those points to pull your drone map into real-world coordinates and check its accuracy. Set the receiver up as a base or connect to network RTK, mark clear ground targets, record each point with the rover, and match those coordinates to the targets in your mapping software.
Why Drone Maps Need Ground Control
A drone mapping flight uses onboard GPS to geotag each photo. That GPS is good enough to line photos up into one map, but it is not accurate enough on its own for engineering-grade work like earthworks volumes or property surveys.
Ground control points fix this. You place physical targets on the ground before the flight, survey their exact coordinates with an RTK receiver, then tell your photogrammetry software where those targets are in the finished map. The software shifts and stretches the whole model to match, which pulls the map's accuracy down to the centimeter level instead of the meter level.
Ground Control Points vs Checkpoints
These two terms get confused, but they do different jobs.
A ground control point is used by the software to build the map. It is part of the correction process.
A checkpoint is not used to build the map. You survey it the same way, but you hold that data back and compare it to the finished map afterward. If the map's reported position at that spot matches your survey closely, you have proof the accuracy is real, not just self-reported by the software.
A solid workflow uses both: enough GCPs to correct the model, plus a few checkpoints to confirm the result.
Setting Up the Base
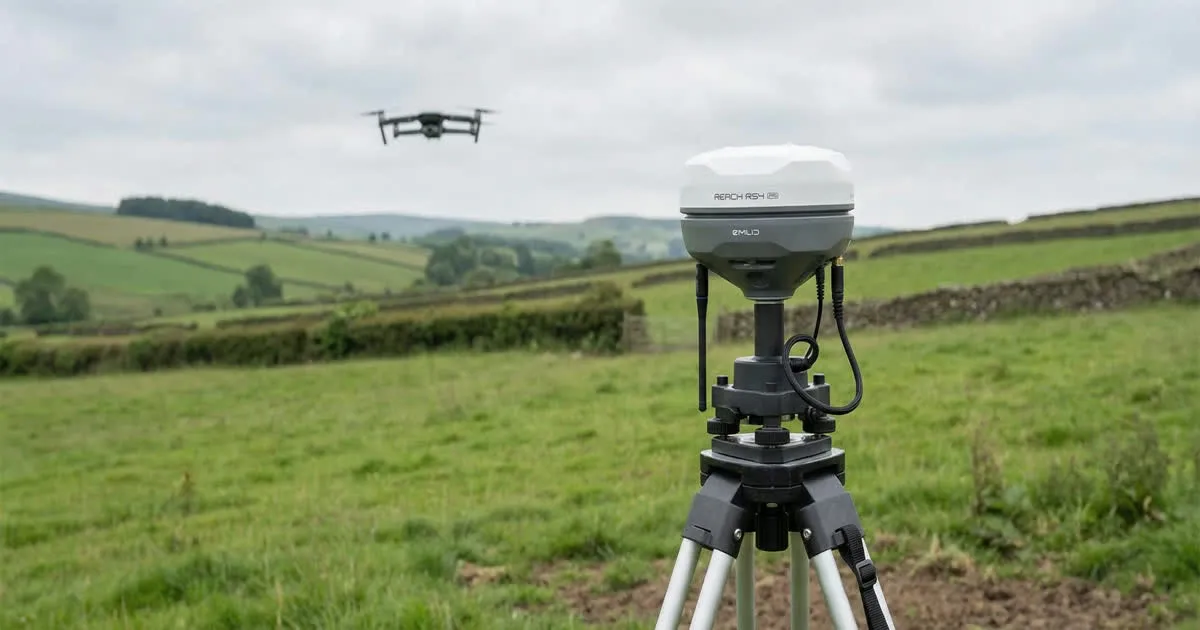
If you are working off-grid, set your Reach RS4 Pro up as a base over a point with a clear view of the sky. You can either average its position over several minutes or enter a known coordinate if you already have one for that spot.
If you have a reliable network RTK service in your area, you can skip the base entirely and connect your rover straight to that network instead. This saves setup time, especially on small or repeat sites.
Marking and Collecting Points
Before you fly, lay out ground targets across the site, not just in one corner. Spread them out and make sure some are near the edges of the planned flight area, since accuracy usually drops off toward the edges of a map otherwise.
Use targets with a clear, sharp center that shows up well in your drone photos, such as a painted cross or a checkerboard pattern. Then walk to each target with your rover, wait for a fixed solution, and log the point at the exact center of the target.
Record clear names for each point as you go. A simple naming system like "GCP1", "GCP2", "CHK1" saves confusion later when you are matching points to photos in your mapping software.
Getting the Data Into Your Mapping Software
Export your collected points from the Emlid Flow app in a coordinate system that matches your project, usually a local or national grid rather than raw satellite coordinates. Most photogrammetry programs accept a simple text or CSV file with a point name, and three coordinate values for east, north and height.
Import that file into your mapping software, then mark each matching target in the actual drone photos so the software knows which pixel corresponds to which surveyed point. This step takes time but is where the real accuracy comes from, so do not rush it.
Common Mistakes to Avoid
A few simple mistakes cause most of the accuracy problems in drone mapping ground control:
- Placing all your points in one area. Targets bunched in the middle of the site do little to correct the edges of your map, where errors are usually largest.
- Logging a point before the fix is stable. A point taken during a float solution can look fine in the software but carry a real error you will not see until later.
- Mixing up point names between the field and the office. A single mismatched name can shift an entire GCP to the wrong location in your software.
- Skipping checkpoints to save time. Without a held-back checkpoint, you have no independent way to confirm your finished map is actually accurate.
Taking a few extra minutes in the field to avoid these mistakes saves far more time later, when a re-fly or a reprocessed model is the only fix.
Checking the Result
After processing, most photogrammetry software gives you a report showing how well the model matches your ground control points, and separately, how it compares to any checkpoints you held back. Look at both numbers, not just one.
| Check | What it tells you |
|---|---|
| GCP residual error | How well the model fits the points used to build it |
| Checkpoint error | How accurate the finished map really is, independent of the correction |
A model can look perfect on its GCPs and still be off elsewhere if you skipped checkpoints, so always hold a few points back.
If you are deciding whether RTK ground control or a post-processed PPK workflow suits your project better, our comparison of RTK vs PPK for drone mapping covers that trade-off in more detail. And if you have not set up a base and rover before, start with our base and rover setup guide.