
Quick Answer
Setting up an Emlid base and rover means placing a base receiver over a point, letting it average its position or entering a known coordinate, choosing how it sends corrections (LoRa radio or NTRIP), then connecting your rover and waiting for a fixed solution before you collect any points. The order matters: get the base solid first, since every rover position depends on it.
Why the Base Comes First
In an RTK setup, the rover's accuracy is only as good as the base's position and the quality of the corrections it sends. If the base is placed poorly, or its position is wrong, every point the rover collects that day will carry the same error, even though the app may show no warning at all.
That is why base setup deserves real care, not just a quick placement. Take a few extra minutes here and the rest of the day goes faster.
Choosing a Base Location
Pick a spot with a clear, open view of the sky in as many directions as possible. Avoid areas close to tall buildings, dense trees, or metal structures, since these can block satellite signals or cause reflected signals that hurt accuracy.
If you are using a radio link (LoRa) to send corrections, also think about the base's line of sight to where you will be working with the rover. Radio range drops quickly behind hills, walls, and buildings.
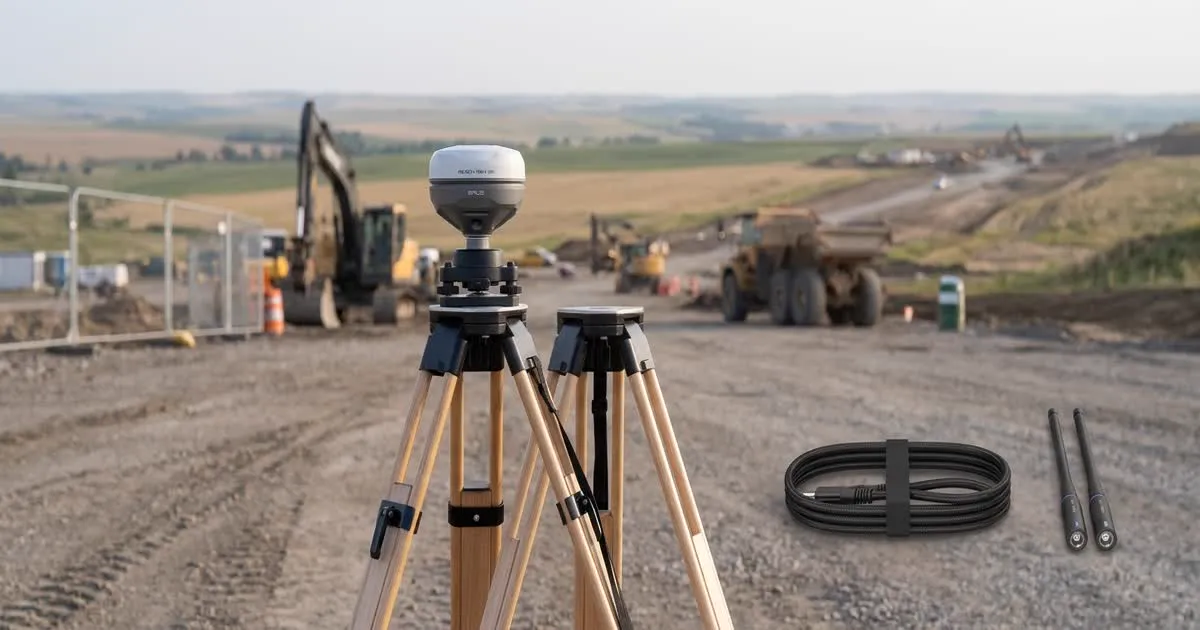
Set the base up on a tripod over a fixed point, and level it carefully using the bubble level or the app's leveling screen if it has one. A base that is not level introduces error into every correction it sends out.
Setting the Base Position
You have two main options for telling the base where it is:
- Average a position: Let the base sit and collect its own GNSS data for several minutes, then use the averaged result as its known position. This is simple and works well for most day-to-day jobs.
- Enter a known coordinate: If you already have a surveyed benchmark or a previously recorded point, enter its exact coordinates manually. This ties your whole survey to an existing control network, which matters for work that needs to line up with other surveys or plans.
For most routine drone mapping and general site work, averaging is fine. For work that must connect to an official survey grid, use a known coordinate whenever one is available.
Choosing How Corrections Reach the Rover
Once the base has a position, decide how it will send corrections to the rover.
- LoRa radio sends corrections directly from base to rover without needing the internet. It is reliable in remote areas but limited by range and any obstacles between the two units.
- NTRIP over the internet streams corrections through a Wi-Fi hotspot or mobile data connection. This removes the radio range limit but depends on both units having a working internet connection.
Pick LoRa for remote sites with no signal, and NTRIP for sites where both units can get online reliably. Some setups use both as a backup for each other.
Connecting and Configuring the Rover
With the base broadcasting corrections, connect your rover receiver to the Emlid Flow app on your phone or tablet over Bluetooth. In the app, point the rover at the correct correction source, either the base's radio channel or its NTRIP stream.
Give the rover a moment to lock onto satellites and start receiving corrections. Watch the fix status in the app closely during this stage.
Confirming a Fixed Solution
The app will typically show one of three states: no fix, float, or fixed. Only a fixed solution gives the centimeter-level accuracy RTK is meant for.
- No fix means the rover has not found enough satellites yet, or corrections are not arriving.
- Float means the rover has a rough position but has not resolved the small errors that RTK is built to remove.
- Fixed means the rover has locked onto the correction data and is now reporting a high-accuracy position.
Never log an important point while the rover shows anything other than fixed. If it will not go fixed after a reasonable wait, check the base's power, its radio or internet connection, and whether anything is blocking the sky above either unit.
A Simple Setup Checklist
| Step | What to check |
|---|---|
| Base location | Open sky, away from buildings and trees |
| Base leveling | Bubble level or app leveling screen confirmed |
| Base position | Averaged or entered from a known coordinate |
| Correction method | LoRa radio or NTRIP, matched to the site |
| Rover connection | Bluetooth linked, correct source selected |
| Fix status | Confirmed fixed before collecting any point |
Once your base and rover setup is solid, you are ready to start collecting or staking out points. Our guide to getting started with Emlid Flow covers that part of the workflow in detail, and our Emlid Reach receiver guide can help if you are still choosing which units to buy.