
Quick Answer
A current sensor measures how much power your drone pulls from the battery. It lets your flight controller track mAh used and guess how much flight time is left. There are two main types: shunt and Hall-effect. You can set one up in Betaflight or ArduPilot with a short calibration step. Skip this step and your battery warnings can be way off.
Why mAh Used Matters
Your flight controller can show battery voltage on its own. Voltage is easy to measure. But voltage alone does not tell the full story. It sags and dips based on how hard you fly, and on the age of the pack.
A current sensor fixes this. It measures the real current, in amps, many times each second. Your flight controller adds this up over time. That gives a running total called mAh used. This number is often more useful than voltage alone. It helps you know when to land, even during hard flying when voltage swings a lot.
Shunt Sensors
A shunt sensor uses a tiny, known resistor placed in the power path. As current flows through it, it creates a small voltage drop. The flight controller reads this drop and works out the exact current.
Shunt sensors are common. You find them on power boards and most all-in-one flight controllers. They are cheap and simple to build into a board. The downside is heat. The resistor warms up as current flows through it. At very high current, this heat can throw off the reading a little on a poor design.
Hall-Effect Sensors
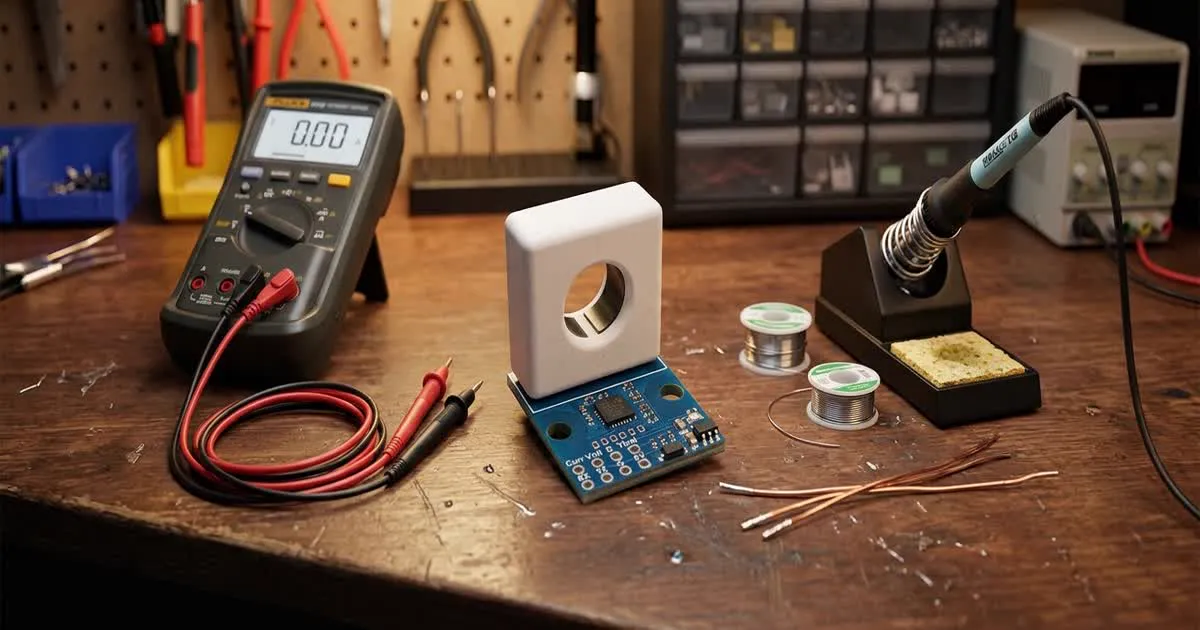
A Hall-effect sensor works in a different way. It does not touch the power wire at all. Instead, it reads the magnetic field around a wire that carries current. It turns that magnetic reading into a current value.
Because it does not sit inside the power path, a Hall-effect sensor makes less heat. It tends to stay accurate even at high current. You often find these as separate, add-on parts. They are common on ArduPilot builds and bigger drones that need to measure large currents.
Built-In vs External Sensors
Many flight controllers and power boards include a built-in sensor. This is almost always a shunt design. It is easy, since there is no extra wiring or mounting. For most freestyle and racing quads, a good built-in sensor is accurate enough.
External sensors, often Hall-effect, show up more on big drones, mapping platforms, and long-range builds. These need very accurate readings at high current. An external sensor adds weight and wiring, but it can hold its accuracy better across a wide range of loads.
If you fly a small freestyle quad, a built-in sensor is fine. If you fly something bigger, or plan missions where flight time matters a lot, look at an external Hall-effect sensor instead. If you also plan to switch battery setups, our guide on 4S vs 6S for FPV covers how voltage and current change with cell count.
Calibrating in Betaflight
Betaflight lets you set a scale value for your current sensor. This tells the firmware how to turn its raw reading into a real amp value. Most boards ship with a rough default. It is close, but rarely exact for your specific board.
To calibrate:
- Open Betaflight Configurator and go to the Power & Battery tab.
- Fly a short flight. Note the mAh used that Betaflight shows.
- Compare this to the mAh your charger reports when you recharge the pack.
- Adjust the scale value up or down until the two numbers line up.
- Repeat the test. It often takes two or three tries to get a close match.
A well-set sensor should land within a few percent of what your charger reports after a recharge.
Calibrating in ArduPilot
ArduPilot uses the same idea, but through its own settings, usually changed in Mission Planner. The key values are a scale for volts-to-amps, and in some setups, an offset for when no current flows.
The general steps:
- Wire your power module the right way. Check the diagram for your exact board, since pin order can vary.
- Open the Battery Monitor screen in Mission Planner and pick the right sensor type.
- Run the built-in setup wizard if your version has one, or check logged current against a known load by hand.
- Adjust the scale value until readings match what you expect, then confirm with a real flight log.
ArduPilot often runs on bigger, pricier aircraft. It is worth the extra time to get this right, since good current data also feeds safety features on some setups. Reading your logs closely, as covered in our guide to blackbox logging, helps confirm the fix worked.
Common Mistakes
- Trusting the default blindly. Every board is a bit different. Default values are a guess, not a promise.
- Comparing against the wrong number. Always check mAh used against what your charger reports, not against the pack's rated capacity.
- Ignoring the sensor's limit. Every sensor has a top current it can read well. Draw more than that, common on strong multirotor builds, and readings can go wrong.
- Forgetting to redo it after a hardware swap. A new power board or power module usually needs a fresh calibration.
For more on picking the right pack in the first place, see our guide on choosing FPV batteries.