
Quick Answer
RotorFlight is firmware for flybarless RC helicopters. To set it up on a RadioMaster Nexus-X, you flash the firmware first. Then you wire the receiver and servos. Next you set the swashplate type and tune each servo. Last, you set up the governor before your first spool-up. Go slowly. Check each step in the software before you add power to the main motor.
What Is RotorFlight?
RotorFlight is flight controller firmware for RC helicopters. It grew out of the same code as Betaflight. Most people know Betaflight from multirotor drones. But RotorFlight adds parts that a helicopter needs. These include swashplate mixing, a headspeed governor, and tail control tuned for one main rotor.
If you have set up Betaflight before, the RotorFlight software will feel familiar. The tabs look much the same. You still connect over USB to a browser-based tool. The real difference is what each tab controls.
A flybarless helicopter has no bar on the main rotor to keep it steady. The flight controller does that job instead. It reads a gyro and moves the swashplate servos many times a second. This keeps the blades tracking the right way. Small mistakes matter more here than on a simple quad. So careful setup matters a lot.
Why the Nexus-X
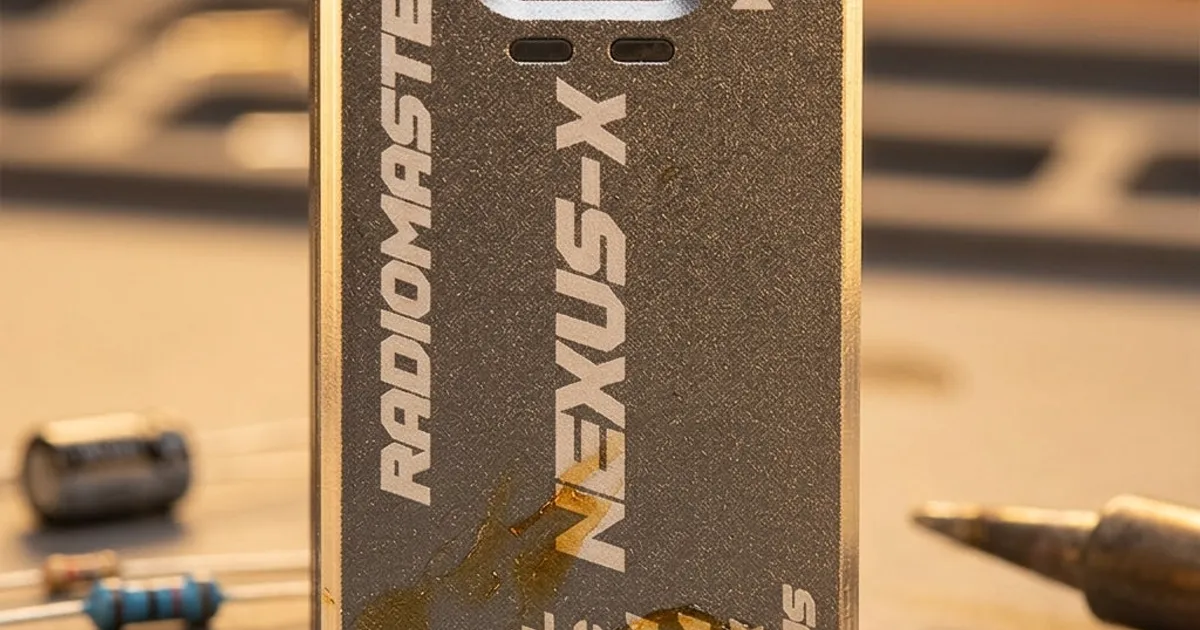
The RadioMaster Nexus-X is a flight controller built for this kind of helicopter. It has enough processing power for RotorFlight. It also gives you the pins a heli build needs. You get a slot for the receiver. You get three or more servo outputs for the swashplate. You get a tail output. You also get a way to read the main motor's RPM for the governor.
Before you buy a flight controller for a heli, check it is on RotorFlight's supported list. Also check the current pinout from the maker. Pin layouts can change between board versions. Always match your wiring to the diagram for your exact board.
Flashing the Firmware
- Get the RotorFlight configurator and the right firmware target for your Nexus-X from the official project.
- Plug in the board over USB. Use the bootloader method your board needs, or let the software find it.
- Pick the exact target name for your board version. The wrong target can map outputs wrong.
- Flash the firmware. Reconnect and check the software shows the right version.
Keep the main blades off the helicopter during this whole process. You do not need them until final testing.
Wiring Your Receiver and Servos
Wire your ELRS or other receiver to its own port. Match the baud rate and protocol in the ports tab. If receiver setup is new to you, read our guide on what ELRS is and how it works first.
For servos, wire each swashplate servo to its labeled output. Wire the tail servo or tail motor to its own output too. Check each wire's order against the board diagram. A reversed wire will not damage the servo. It will just stop it from moving the right way.
Setting the Swashplate Type
In the mixer tab, pick the swashplate type that matches your helicopter. Common types include a 3-servo layout and a simpler tail-only layout. This is the most important choice in the whole setup. Every later step builds on it.
After you pick the type, use the servo tab to set travel limits and center points. Move each control by hand in the software first, with blades off. Watch that the swashplate tilts the way each stick input should move it.
Governor Basics
The governor holds the main rotor at a steady speed. Think of it like cruise control in a car. You set a target speed, and the governor adjusts motor power to hold it as the load changes in flight.
Start in a simple governor mode with a low target speed. This lets you learn how the helicopter behaves. A higher speed adds power and lift. But it also adds stress on the parts and demands more from your tune. Raise the speed only in small steps, once your hover feels stable.
Your First Spool-Up
Before you fit the main blades:
- Check every servo direction and swashplate move one more time.
- Confirm your failsafe will cut power if you lose the radio link.
- Test your arming switch with the motor disconnected.
When you do your first spool-up with blades on, stand well clear. Use a space built for helicopters. Bring the throttle up slowly. Do not jump straight to full speed. Watch and listen for anything odd, like a wobble or a grinding sound. Cut power right away if something feels wrong.
If you want to record data for tuning later, read our blackbox logging guide. It works the same way on RotorFlight as it does on a quad.
Common First-Setup Mistakes
- Skipping the manual servo check, then finding the swashplate moves the wrong way in flight.
- Setting headspeed too high before the helicopter is trimmed and balanced.
- Using a firmware target built for a different board version.
- Forgetting to set a safe failsafe before the first flight.