
Quick Answer
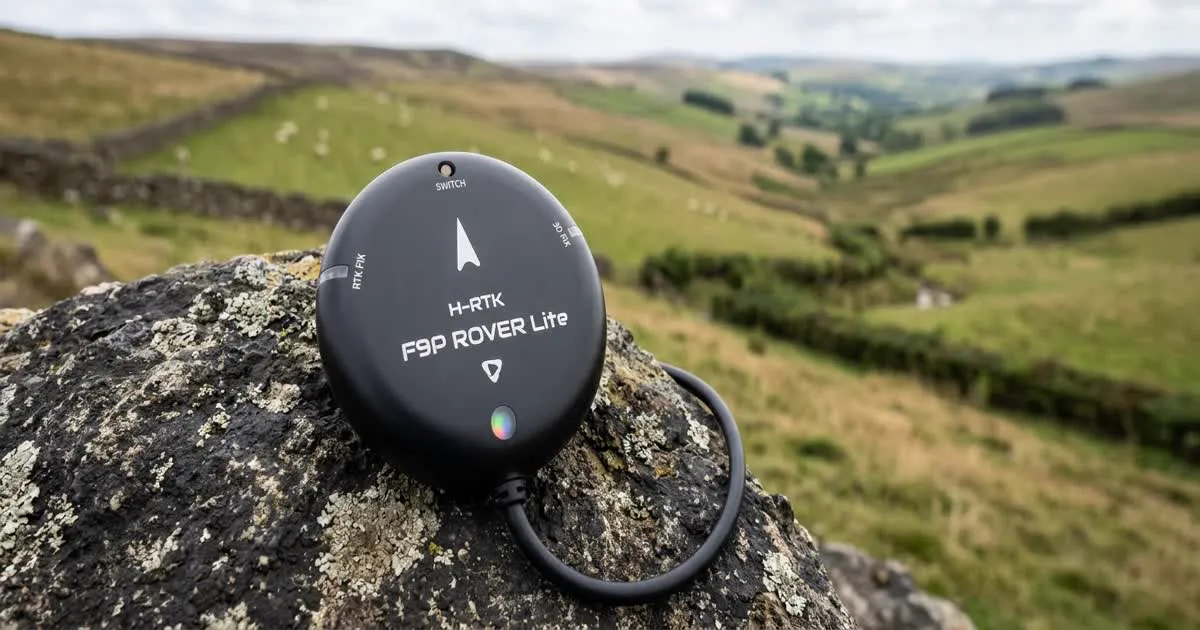
A GPS module gives your flight controller your drone's position, speed, and heading, which enables features like position hold and rescue-to-home. Pick a module with a built-in compass, wire it to a free UART, mount the compass away from power wires, and let it settle outdoors for a clean satellite lock before flying.
What GPS Actually Adds
Without GPS, most small FPV drones fly purely on the pilot's input and the flight controller's gyroscope and accelerometer. That works well for acro flying, but it means the drone has no idea where it is in the world.
Adding a GPS module lets the flight controller know:
- Its position on Earth, from satellite signals
- Its ground speed and direction of travel
- A reference point to return to if you lose control or signal
This enables features such as position hold, which keeps the drone steady in one spot, and a rescue or return-to-home mode, which flies the drone back toward its takeoff point if the radio link drops.
GPS Rescue and Position Hold
These are the two features most FPV pilots actually use GPS for on Betaflight-based builds.
- GPS rescue triggers when the radio link is lost or on a manual switch, and flies the drone back to a saved home point at a safe altitude. It needs a solid satellite lock before takeoff to record an accurate home position.
- Position hold uses GPS along with the barometer to hold the drone roughly steady in the air with minimal stick input, useful for filming steady shots or giving yourself a breather mid-flight.
Both features depend entirely on a good satellite lock. A weak or slow lock leads to an inaccurate home point, which can cause GPS rescue to fly toward the wrong spot.
Choosing a GPS Module
A few features matter more than brand when picking a module:
- Built-in compass. Most GPS modules include a magnetometer, which reads heading. This is important for accurate rescue and position hold.
- Multi-band or single-band. Multi-band modules track more satellite systems and frequencies, giving a faster, more stable lock, especially in tricky locations like cities or under tree cover.
- Size and weight. Smaller frames need a compact module, while larger long-range or mapping builds can use a bigger, higher-accuracy unit.
- Mounting style. Some modules mount on a small stalk to lift the compass away from the frame's electrical noise, which is worth using if included.
For a direct comparison of common options, see this guide on Holybro GPS modules.
Wiring to a UART
Most GPS modules connect over a serial UART port, using four wires: power, ground, transmit (TX) and receive (RX).
- Check your flight controller's manual for a free UART, since GPS needs its own dedicated serial port.
- Connect the module's TX pin to the flight controller's RX pin on that UART, and RX to TX, since serial connections cross over.
- Connect power and ground to the correct voltage pins on the module, checking the module's rated voltage first.
- In your configurator's ports tab, set that UART's function to GPS and choose the correct baud rate, usually starting with automatic detection if your firmware supports it.
- Enable GPS in the features or sensors section of your firmware and select the correct protocol, most commonly UBLOX for modern modules.
Double-check TX and RX are not swapped before powering on, since a crossed connection is the most common reason a GPS shows no data at all.
Compass Placement
The compass inside most GPS modules is sensitive to magnetic interference from nearby wires and motors.
- Mount the GPS module as far from power wires, the battery, and motors as your frame allows.
- Avoid mounting it directly above or below the battery, since the battery's current draw creates a magnetic field that confuses the compass.
- If your module sits on a stalk, keep the stalk's wiring away from the main power leads.
- Recalibrate the compass any time you move its mounting position or add new metal parts near it.
Poor compass placement often shows up as an inaccurate heading on the OSD or a GPS rescue that flies in the wrong direction, even with a good satellite lock.
Getting a Fast Satellite Lock
A few habits speed up and stabilize the lock:
- Power on and let the drone sit outdoors, away from buildings, for a minute or two before checking lock status.
- Check your OSD or configurator for the number of satellites and the reported accuracy (often shown as HDOP, where lower is better).
- Avoid arming or flying GPS-dependent features until you have a solid lock with a reasonable number of satellites, since the manufacturer's recommended minimum varies by module.
- Flying under heavy tree cover, near tall buildings, or indoors will slow or prevent a lock entirely, since GPS needs a clear view of the sky.
A Simple Setup Checklist
- Choose a module with a built-in compass suited to your frame size.
- Wire TX to RX and RX to TX on a free UART, plus power and ground.
- Set the UART to GPS and select the correct protocol in your configurator.
- Mount the compass away from power wires and the battery.
- Let the module get a solid lock outdoors before your first GPS-rescue test flight.
- Test rescue and position hold at a safe altitude, with a plan to take back manual control if anything looks wrong.
If you want to go further into flight controllers built specifically for GPS-heavy setups, read this overview of Pixhawk and the related ArduPilot setup guide.